Mobile apps have become part of our everyday lives in today’s fast-paced digital world. Having your own unique Android app can be a pleasant and enjoyable experience, whether it’s for productivity, entertainment, or overcoming everyday obstacles. But if you’re a computer enthusiast without any programming skills, you might wonder if developing an app is just a pipe dream.
Put your mind at ease! This in-depth guide’ll dispel the misconception that building apps require programming expertise. Without writing a single line of code, we will guide you through the process of creating your very own Android application. With the rise of easy-to-use app development platforms, you can now bring your unique ideas to life and bring your app to life without the need for in-depth programming skills.
Also read: How to Boost Your Wi-Fi Signal: A Comprehensive Guide for Optimal Performance
Whether you have a fantastic idea for an app to make routine activities easier, a fun game concept, or a special utility tool in mind, this book will provide you with the information and tools to start your app development journey with confidence. So let’s get started and learn how to build your own Android app and establish yourself in the burgeoning mobile app industry!
Define Your App Idea
Defining a compelling and clear app idea is the first and most important step in developing your own custom Android app. It lays the foundation for the entire development process. Here are some ideas and tips to help you develop your app concept:
Find a problem to solve:
Think about the problems or difficulties you or others face daily. Your app should aim to solve a particular problem or make life easier for consumers. This could be anything from a time management tool for active workers to a fitness app for tracking exercise and diet.
Know your audience:
Understanding your target audience is essential to developing an app that will appeal to consumers. Conduct market research to identify your potential customers’ characteristics, preferences, and pain points. Design and feature your app to meet the needs of your target audience.
Research the Google Play Store to see if there are already apps that are similar to your idea. Study their features, customer comments, and overall user experience. With our research, you’ll be able to identify gaps in the market and improve your app’s unique selling proposition.
Draw the user interface (UI) for your application:
Sketch your app’s UI to see its structure and design. Think about the organization of the app’s general layout, navigation, and button placement. A simple drawing can help you organize your thoughts and give developers a better idea of your vision; you don’t need to be an artist.
Focus on core features:
While it’s exciting to envision a feature-rich app, start with the basic elements that define your app’s function. By keeping it simple, you can quickly create a minimal viable product (MVP), which can then be evaluated and improved.
Think about monetization strategies:
If you want to monetize your app, consider which revenue model would work best. Will your software be ad-supported, free with in-app purchases, or just a one-time payment? Choose a technique that fits with your app’s value proposition and user expectations.
Keep your app innovative and unique:
Keep your app innovative and unique to ensure it stands out from the competition. Consider new approaches to grab consumers’ attention and deliver a memorable experience.
App Idea: “MealPlanner Pro – Simplify Your Meal Planning”
MealPlanner Pro is an easy-to-use Android software designed to make meal planning easier for families and active individuals. It promises to solve the problem of time-consuming shopping and meal preparation by providing a smooth and structured meal-planning process.
Key features:
- Build a large collection of your favorite recipes or import them from popular cookbooks, food blogs or cookery websites. Group recipes into breakfasts, lunches, dinners, and snacks for easy access.
- Use a simple drag-and-drop interface to plan your meals for the whole week or month. Customize your meal plans to suit your dietary needs, food sensitivities, and nutritional goals.
- Create automatic shopping lists based on your meal plans with Smart Shopping Lists. With the app, you’ll never forget a single item as it combines all the ingredients needed for your chosen meals.
- Inventory your pantry so you know what you have and don’t buy what you don’t need. The app will modify your shopping list accordingly.
- Get nutritional insights for each dish, including calorie counts, macronutrient breakdowns, and allergy warnings to help you make healthier choices.
- Share your meal plans with family members or flatmates for easy collaboration when planning and organizing meals.
- Set reminders for meal preparation, cooking times, and grocery shopping to help you stay organized and on track with your meal planning goals.
Offering the app as a freemium model would allow you to charge a monthly or annual subscription fee to give premium users access to advanced features such as personalized meal recommendations, exclusive recipes and more customization options.
This app concept helps those who struggle with grocery shopping and meal planning, making it an invaluable resource for anyone looking for ease and organization in their daily lives. MealPlanner Pro has the ability to attract a large user base and positively influence their cooking habits by focusing on key features and offering distinctive benefits.
Choose the Right App Builder
Fortunately, you don’t have to be an expert coder to develop an Android app. There are plenty of easy-to-use app builders that don’t require coding experience. Here are a few popular choices:
- Appy Pie: A comprehensive no-code app development platform with a drag-and-drop interface, Appy Pie makes it easy for beginners to build Android apps. It offers a variety of themes and allows for customization to suit your app’s needs.
- A block-based interface on Thunkable allows you to visually drag and drop components to build the functionality of your app. It is easy and excellent for people new to building apps.
- MIT’s AppInventor lets you design Android apps using a block-based interface. It offers a wide variety of parts and supports a number of features that you can add to your app.
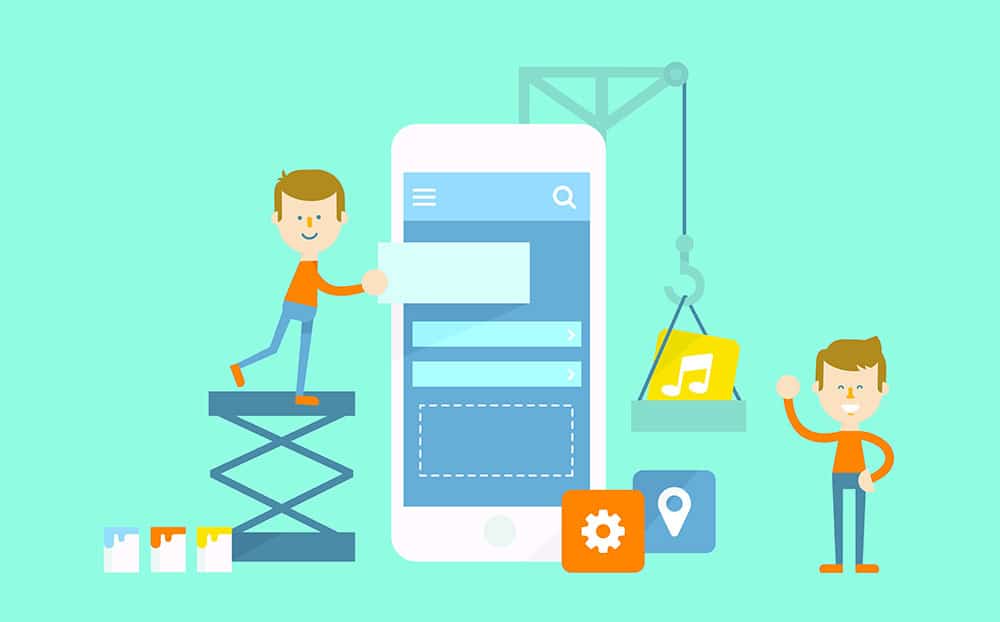
Designing Your Android App
The critical next stage is to create an attractive and user-friendly interface for your Android app once you have a well-defined app idea. Design is crucial to attracting customers, improving the user experience, and making your app stand out. You can use the following processes and factors to help you through the app design process:
User experience (UX) research:
Before you start designing, thoroughly research the needs and preferences of your target audience. Surveys or comments from potential users can be used to determine the needs and expectations of similar apps. Your design choices will be informed by this research, which will also ensure that your app meets user needs.
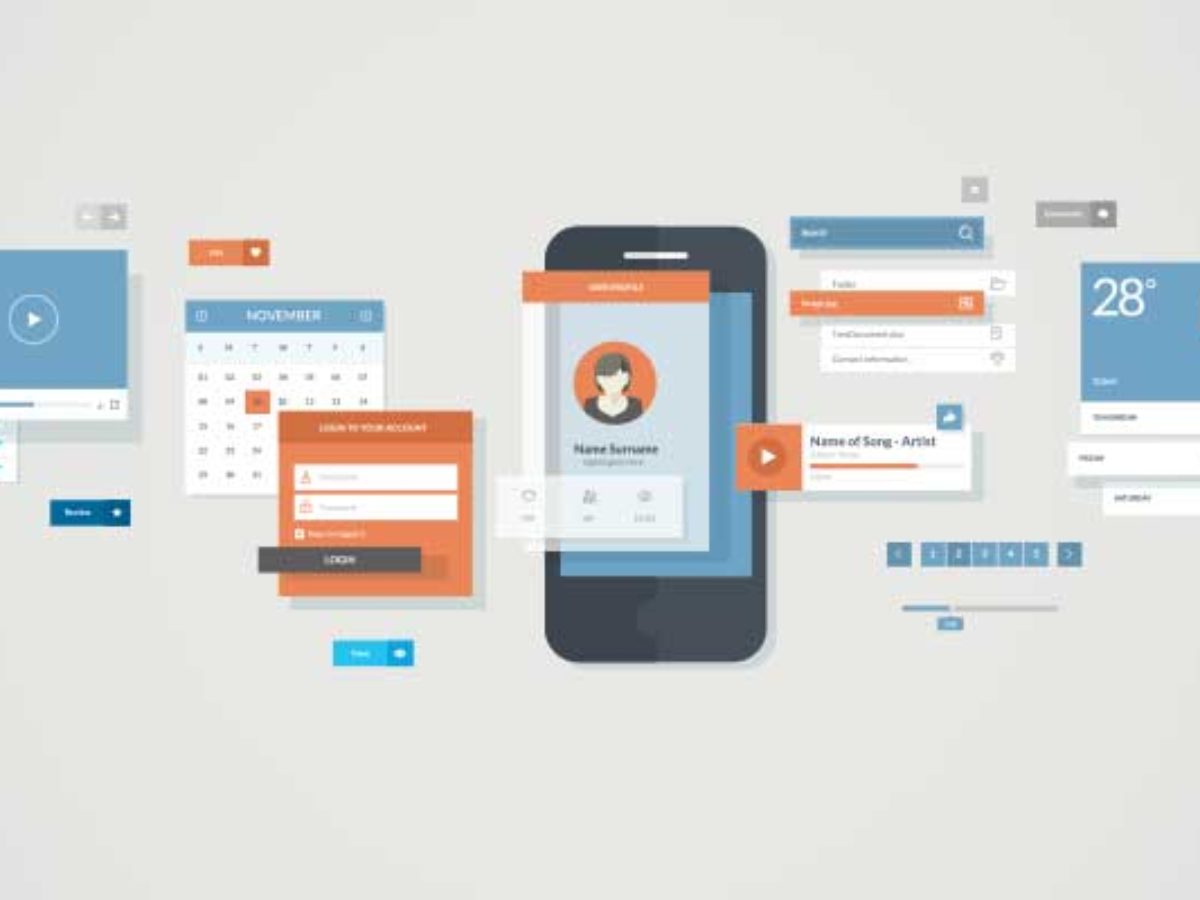
Wireframing:
Use wireframes to begin the design process. Wireframes are simple, low-fidelity graphical representations of the structure and features of your program. They act as a guide to help you define the organization and navigation of the application. To create wireframes and iterate until you’re happy with the flow of the app, use tools such as Figma, Sketch, or Adobe XD.
Visual design and branding:
Align your design with your app’s branding and style to create a consistent and aesthetically pleasing design. Choose a color scheme that enhances the functionality of your app and creates the appropriate feelings. Pay close attention to typography, iconography, and other visual components to maintain a consistent and polished look.
Ensure that your app design is responsive to mobile devices and can adapt to different screen sizes and orientations. To ensure a smooth user experience across all screen sizes, from smartphones to tablets, test the app’s layout on different Android devices.
Design an intuitive and simple navigation system that makes it easy for users to reach the different areas of your application. To make the user experience easy and familiar, stay away from complicated or buried menus and use familiar navigation patterns.
Consistent UI components:
Keep the application’s UI elements, such as buttons, cards, and forms, consistent. Consistency improves usability and ensures that users can use the software without difficulty or misunderstanding.
Designing your software with accessibility in mind ensures that it can be used by people of all abilities, including those with disabilities. Follow accessibility principles to improve the accessibility of the app, such as offering text replacements for images and making sure the app is screen reader compatible.
Create and test interactive prototypes of your app design to see how the user flow and interactions work. Use prototyping tools such as InVision or Marvel to model user interactions and gather feedback from future users or beta testers. Based on their comments, iterate to improve your design further.
Performance and load times:
Make sure your program is designed for fast loading and smooth operation. Reduce extraneous animations, shrink image sizes, and optimize UI components to provide a smooth user experience, even on low-power devices.
Feedback and iteration:
Incorporate user testing results and usability insights as you iterate your design. Building an app that meets users’ expectations and provides an enjoyable experience requires continuous improvement.
Adding features and functionality
Now that your Android app has a well-designed user interface, it’s time to add useful features and functionality. The right features can dramatically improve the user experience and set your app apart from the competition. You can add important features to your app by following the methods and factors detailed below:
1. Prioritise core features:
First, focus on the core features that most closely align with your program’s primary goal. Adding too many features at once risks confusing consumers and making the app harder to use. Focus on the features essential to your app’s operation, and then gradually add others in response to user feedback and demand.
2. User Authentication and Account Management:
For a more personalized experience, let users register for accounts or log in using social media platforms. Implement user authentication and account management features to provide secure access to user information and customized settings.
3. Enable in-app messaging and notifications to make it easier for users to communicate with each other within the app. Increase user engagement by implementing push notifications to alert users to changes, reminders or new material.
4. Use GPS and location services to provide location-based functionality. For example, users of a holiday app can find local restaurants or attractions based on their current location.
5. Implement data synchronization and cloud storage so users can easily access their app data across devices. This feature allows users to move between devices without losing their app settings and data.
6. Enable users to share app content, achievements or user-generated material on their social network profiles with social media integration. Social media integration increases your app’s reach and promotes app virality.
7. Implement an offline mode that allows users to access certain app features even when there is no Internet connection. Cache frequently used data to increase app speed and save storage space.
8. Integrate a powerful search tool that allows users to find information or specific items within the application easily. Include filters and sorting options to improve search results and the user experience.
9. Integrating a payment gateway is necessary if your app offers in-app purchases or subscription services to handle payments. Users should have confidence in their ability to make purchases from your app.
10. Analytics and user insights:
Use analytics technologies to gather insightful user data. By analyzing user behavior and preferences, you can make data-driven decisions to update your app and meet customer demands efficiently.
11. Allow users to personalize their app experience by letting them choose their favorite themes, colors, and notification settings. Personalization increases user interaction and makes the app feel like it was designed specifically for them.
12. Implementing a user feedback system would allow users to submit ideas or report problems directly from within the app. Provide customer service options, such as email or in-app chat, to help users with any questions or issues they may have.
Don’t forget to test each feature to ensure it works properly and is free of bugs. Create a dynamic and user-centric app experience that keeps users coming back for more by frequently updating your app with new features and user input.
Testing Your Android App
It’s important to test your software properly before releasing it to make sure it works as intended. Most app developers provide testing tools that allow you to test your app on your own Android smartphone. To improve the app’s usability, test every feature, look for bugs, and get feedback from beta testers or friends.
Test your app:
The testing phase of app development is crucial because it ensures that your app works as intended and provides a satisfying user experience. Here are specific ways to thoroughly test your Android app:
Unit testing: Use unit testing to test the different parts and features of your app separately. To ensure that each piece of code works as intended, use testing frameworks such as JUnit.
Test the interactions and functionality of your application’s many components with integration testing. Ensure that integrated features work without interruption or odd behaviour.
Perform user interface (UI) testing to validate your application’s visual components and user interactions. Verify that navigation, menus, and buttons work as intended on a variety of screen sizes and orientations.
Usability testing should involve real users or beta testers. To improve the user experience, pay attention to how people interact with your app, identify any pain points, and get insightful feedback.
Performance testing: Evaluate how well your app performs in different scenarios, such as poor network access or limited device capabilities. Check for sluggish load times, delays or crashes and make the necessary adjustments.
Test for compatibility: To ensure compatibility across a broad user base, test your app on a range of Android devices, screen sizes, and OS versions.
Test your app’s security to ensure it is protected from vulnerabilities that could allow unwanted access or data breaches. Verify user credentials, then secure critical information.
Monitor your app’s battery and resource usage to increase efficiency and reduce impact on device operation.
Localization testing should be carried out if your software will be used by users in different geographical areas, to ensure that translations and cultural adaptations are accurate and appropriate.
Regression testing: Perform regression testing after making changes or adding new features to ensure that current functionality continues to work as intended.
Publishing Your Android App
It’s time to publish your app on the Google Play Store once you’ve thoroughly tested it and made sure it meets the quality criteria. To publish your Android app, follow these step-by-step instructions.
- Create a Google Play Developer account by registering and paying the one-time registration fee.
- Gather the necessary app materials, such as the app icon, screenshots and marketing visuals. Users are attracted to high-quality images, which also help to promote your app in the store.
- Fill out the content rating questionnaire with accurate information about your app’s content to comply with Google Play guidelines.
- Decide on your app’s pricing and distribution strategy. Your app can be free or paid. Select the countries where users will be able to download your app.
- Create a signed APK file: Create a signed APK file for your application. The signed APK guarantees the validity and integrity of your application.
- Install your app: Upload the signed APK file by signing in to your Google Play Developer Console. Include all required information, such as the app name, description, and screenshots.
Google will review your app to ensure it meets its requirements before publication. This review can take anywhere from a few hours to several days. Once approved, your app will be available on the Google Play Store.
App Store Optimisation (ASO): To increase your app’s visibility and discoverability on the Play Store, optimize your app listing with relevant keywords and a compelling description.
After publishing, keep an eye on user comments and reviews. Update your software frequently to fix bugs, add new features, and improve the user experience.
The bottom line
Building your own unique Android app may seem impossible if you don’t know how to code, but with the right app builder and a well-thought-out strategy, it’s entirely doable. To make your app stand out, follow the methods outlined in this article, and don’t be afraid to experiment with new features. Your app can thrive in the Android Market with hard work and creativity. Happy app development!