
Upgrading your PC’s hardware, such as RAM, SSD, and graphics card, can significantly increase its speed and capabilities. Here are full instructions on how to make these upgrades.
Also read: How to Optimize Windows 10 for Gaming Performance
Important: Before you start, make a backup of all your important data to avoid loss if something goes wrong during the upgrade process. Also, make sure you have all the necessary tools and PC’s hardware components for your PC.
1. Upgrading RAM (Random Access Memory)

a. Determine your computer’s RAM specifications.
Before you upgrade your PC’s RAM, it’s important to know the exact compatibility specifications of your motherboard. You can do this by following these steps:
- Check your motherboard manual: Start by checking the manual that came with your motherboard. It will usually contain details of the type, speed, and maximum amount of memory your motherboard supports. The manual may also include instructions for installing or upgrading RAM.
- Go to the manufacturer’s website: You can also go to the manufacturer’s website and search for your motherboard model. They often have detailed information about your motherboard’s features, including RAM compatibility.
- Use system information tools: System information tools such as CPU-Z or Speccy can also be used to obtain information about your current RAM and motherboard. This information can be used to cross-reference the manual or web page details.
b. Buy RAM that is compatible with your computer.
Once you’ve got all the information you need about your motherboard’s RAM compatibility, you’re ready to buy the RAM modules you need:
- Check the specifications: Make sure that the RAM modules you buy match the specifications of your PC. This includes type (e.g. DDR4), speed (e.g. 3200MHz), and capacity (e.g. 16GB).
- Consider dual-channel memory: If your motherboard supports dual-channel memory, consider buying RAM modules in pairs to maximise performance.
- Check the physical dimensions: Check that the physical dimensions of the RAM modules fit your PC case. Some larger RAM heat sinks may be too large for smaller enclosures.
- Switch off and unplug the unit. The security of your PC is of the utmost importance when making any hardware changes. To ensure your safety and the integrity of your computer, follow these steps
- Complete shutdown: Turn off your computer using the operating system and wait for it to completely shut down.
- Unplug from the electrical outlet: Unplug your PC to avoid electrical hazards during the installation process.
c. Remove your computer case
To gain access to the internal components of your computer, you must first open the case. The procedure may vary depending on the design of your case:
- Refer to the case manual: For detailed instructions on how to safely open your PC case, refer to the manual or documentation that came with it. Screws may be used in some circumstances, while tool-free methods may be used in others.
- Avoid static discharge: Ground yourself by touching a metal part of the case before touching internal components to prevent static discharge that can damage sensitive electronics.
d. Locating the RAM Slots
- Locate the RAM slots on your motherboard inside your PC. Most motherboards have two or four RAM slots, usually located near the CPU socket.
e. Discard old RAM (if applicable)
- Use the following methods to upgrade your RAM by replacing existing modules:
- Retention Clips: There are retention clips on each side of the present RAM stick. To release the RAM, gently press them outward.
- Careful Removal: After releasing the retention clips, gently remove the old RAM module from the slot.
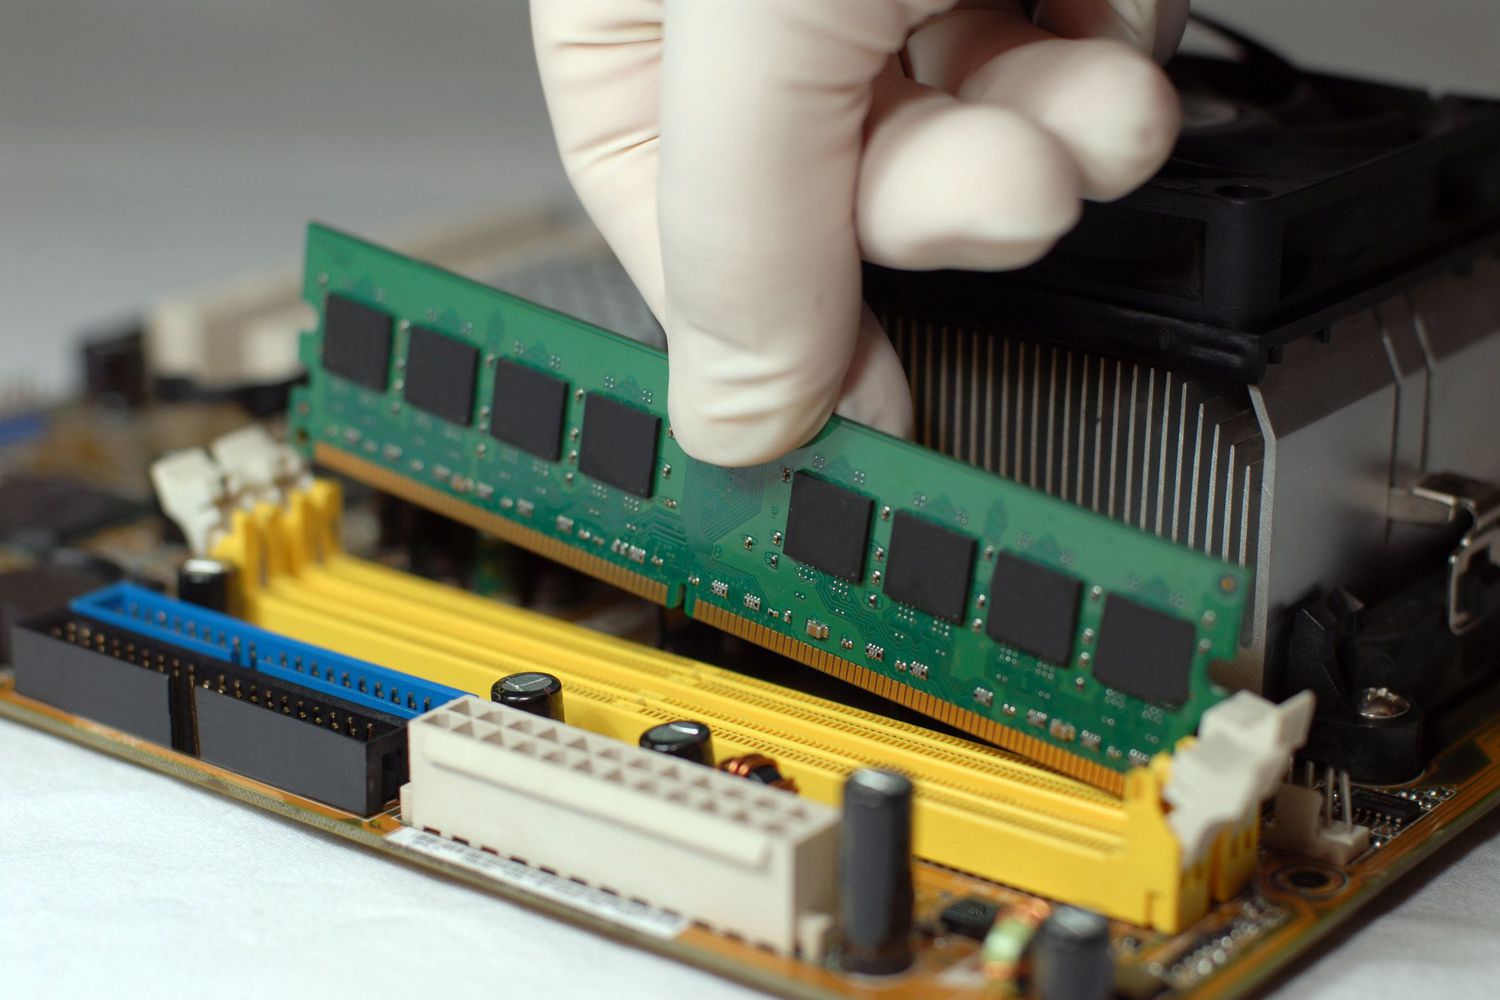
- Installing New RAM
- Follow these instructions to install the new RAM modules:
- Alignment: Line up the notches on the RAM module with the notches on the RAM slot. This guarantees that the module is appropriately aligned.
- Apply consistent pressure to both ends of the RAM module as you push it down into the slot. The retention clips should snap into place loudly, securely holding the RAM.
f. Close your computer case
- Close your computer case after confirming that the memory is securely installed in its slots as instructed by the case. Check that all screws and latches are securely fastened.
g. Turn on your computer
You are now ready to turn on your computer with the RAM installed:
- Reconnect the cables: Reconnect all cables that were previously disconnected, including power cables, peripherals and any other devices.
- Check the BIOS: Turn on your computer and go to the BIOS settings. This is usually done by pressing a key during the boot process (popular keys include Del, F2 and F12). Check that the new RAM is identified in the BIOS.
- System Properties: Once your computer has booted into the operating system, check the system properties to confirm that the new RAM has been identified and is working properly. The additional RAM capacity should be displayed in the system information.
To verify that the new RAM is working as intended, run memory-intensive tasks or use benchmarking tools. This may help you determine whether or not the upgrade was effective.
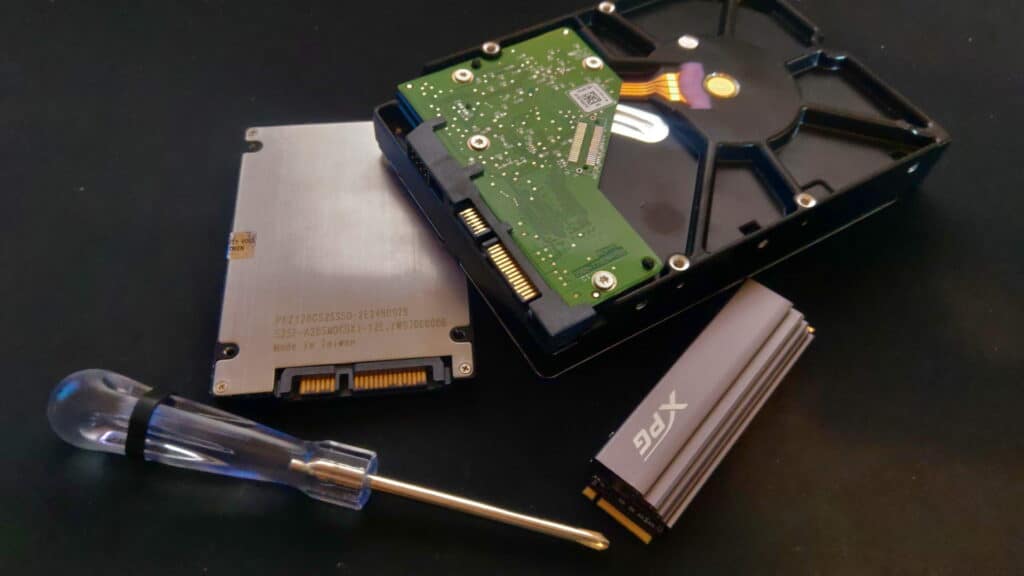
2. Upgrading SSD (Solid State Drive)

- Determine your current storage setup: Find out if your computer already has an SSD or HDD. If it currently has an HDD and you want to upgrade to an SSD, decide on the size (2.5-inch, M.2 or NVMe) and capacity you want.
- Buy an appropriate SSD: Buy an SSD with the size and capacity you want. Make sure it is M.2 or SATA compatible with your motherboard.
- Back up your data: Before you start, back up all your data from the old hard drive to an external storage device or cloud service.
- Turn off and disconnect your computer: As with the RAM upgrade, make sure your computer is turned off and disconnected from the power source.
- Open your PC case: To open your PC case, use the same methods as described for upgrading RAM.
- Locate the old drive: Locate the old storage drive, which is usually in a drive bay or attached to a mounting bracket.
- Remove the old drive: Depending on the type of drive, you may need to disconnect cables and remove any screws or brackets holding it in place. Be careful when removing the old drive.
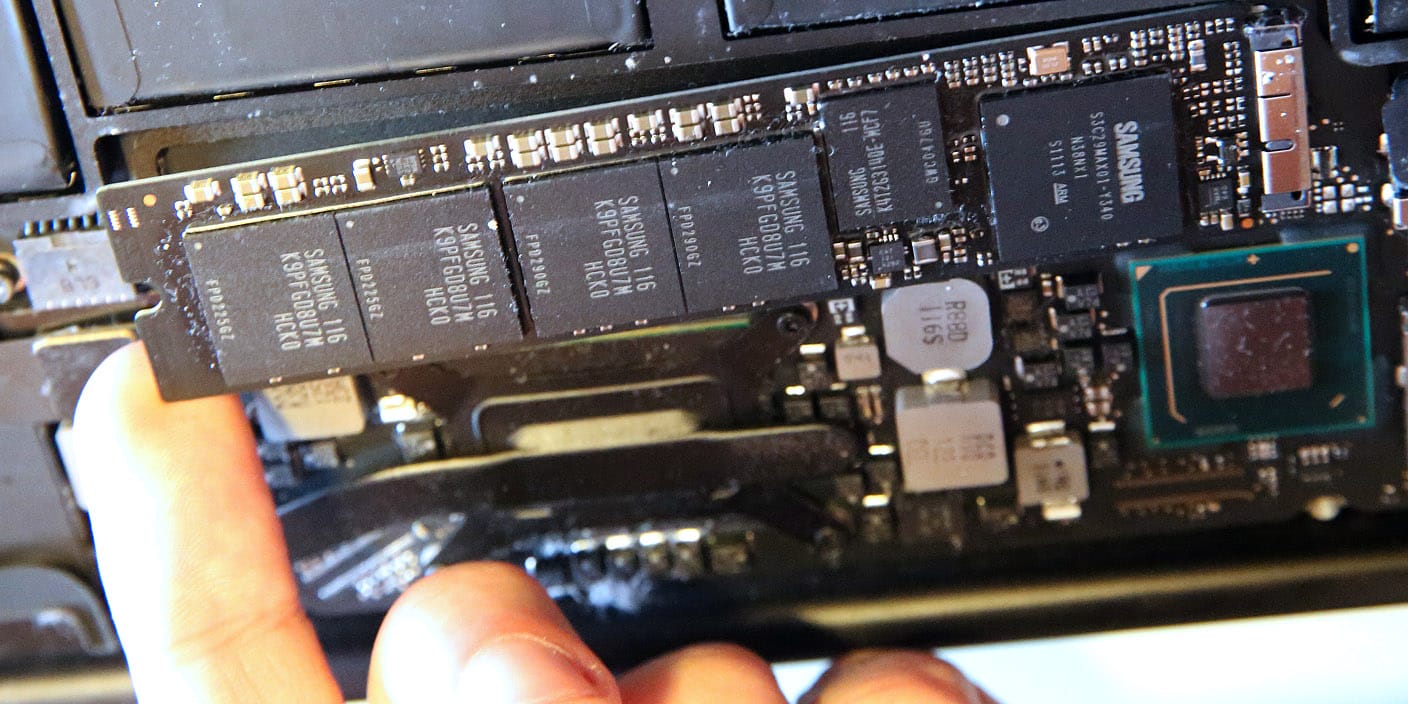
- Insert the new SSD: Place the new SSD in the correct slot, whether it’s a 2.5″ bay, an M.2 slot or an NVMe slot. Use screws or brackets to secure it if necessary.
- Connect the cables: Connect the appropriate cables to the new SSD, such as SATA or NVMe cables.
- Close your PC case only after securely installing the new SSD.
- Reboot your computer: Reconnect all connections, restart your computer and use your operating system’s disk management tools to initialize the new SSD. If you’re replacing your primary storage drive, you may need to reinstall your operating system or clone the old drive to the new one.
3. Upgrading Graphics Card

- Check for compatibility: Make sure your PC’s power supply (PSU) has enough wattage and connectors to support the new graphics card. Also check that your motherboard has the required PCIe slots (typically PCIe x16) for the new card.
- Buy a suitable video card: Choose a video card that fits your budget and is compatible with your system’s specifications.
- Remove old video drivers: Before physically installing the new card, remove the drivers for the old card. You can do this using Windows Device Manager or the equivalent in your operating system.
- Turn off your computer and disconnect it from the power supply.
- Open your PC case: To open your PC case, repeat the methods described in the previous upgrades.
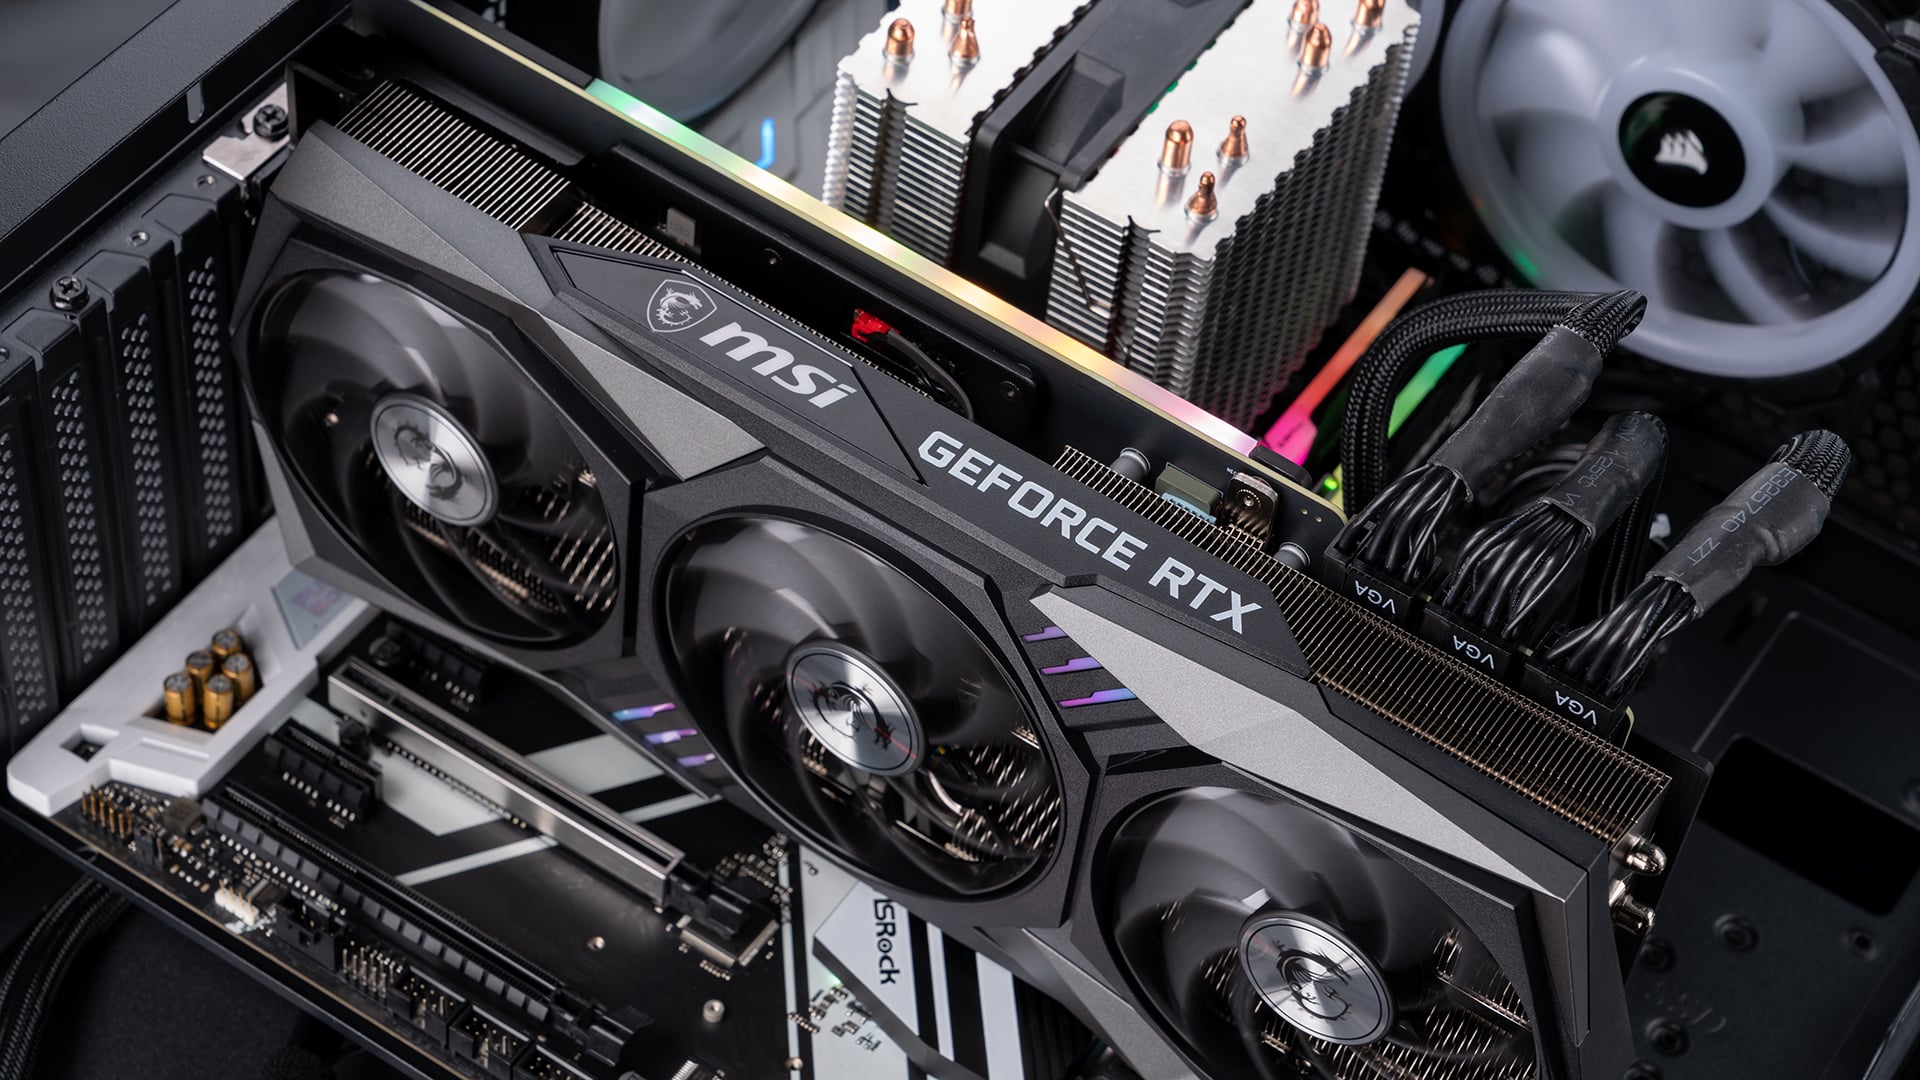
- Remove the old video card: If you have an existing graphics card, carefully unscrew or unlock it from the PCIe slot. If your PC has integrated graphics and you’re adding a separate card, find an open PCIe slot.
- Install the new graphics card: Carefully insert the new graphics card into the PCIe slot until it clicks into place. Secure it with screws or locks if necessary.
- Connect the power cables (if necessary): Some graphics cards require additional power connectors. Connect these from your power supply to your graphics card.
- Close your PC case: After making sure the graphics card is securely in place, close your PC case.
- Reconnect all cables, restart your computer, then install the latest drivers for your new graphics card from the manufacturer’s website.
- Test your graphics card: Run benchmarking software or play graphics-intensive games to confirm that your new video card is working properly.
Wrap up
It’s important to remember that replacing a PC’s hardware components could void your warranty and require a basic understanding of PC technology. If you are unfamiliar with these techniques, it is best to seek help from a professional or a knowledgeable friend. In addition, always consult your PC’s manual and the literature supplied with your new hardware for specific instructions and safety warnings.